STEP #5 - Let's Do Some Scripting
*****TIP****
When adding text to your tag - always use POINT instead of Pixel -
and always Use - Vector .
***************************
Open the tag you want to add names to in your PSP program.
Make sure that you have the colors set in your material palette for the font you want to use.
Make sure that the History Palette is empty!
I have opened the tag that I want to add names to-
The history palette is empty!
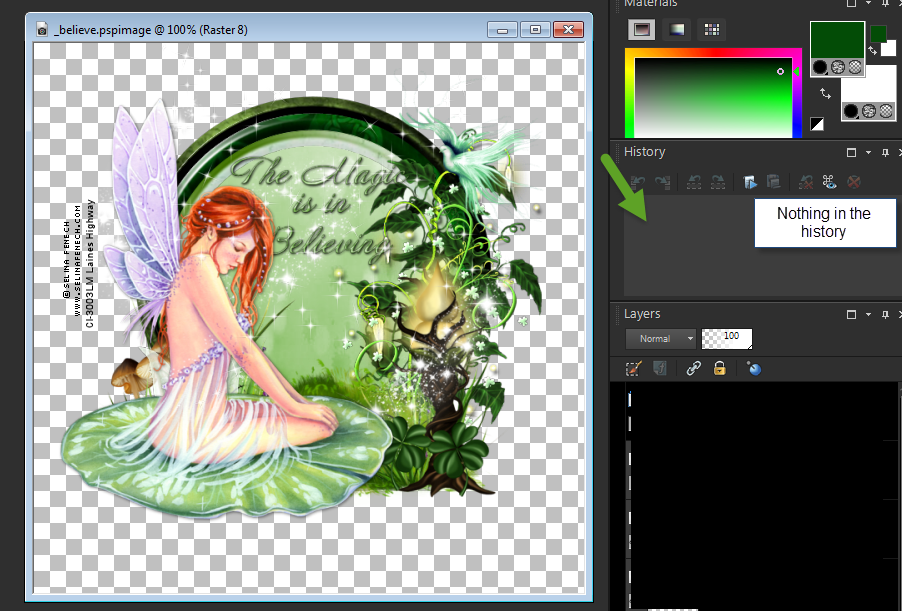
Make sure you are on the top layer of your tag to add the name.
Now, add the text (you can use your name)
Add drop shadows, add plug-ins, whatever you want to add to the text.
Now add the text.
Remember, whatever you do, will be duplicated when you run the script.
So you will want to be sure that you don't have any undo's.
I have added the text like I want it
I have it placed where I want it
I have added drop shadows and added noise
I have the text like I want it to be on my tag
Now remember to conver the vector to raster!
Look at your history palette -
See it shows you exactly what you did
Here is the clever trick:
Go to your history palette, click onto the Text point in the history and with shift pressed click and mark all the other steps you used to create your name effects.
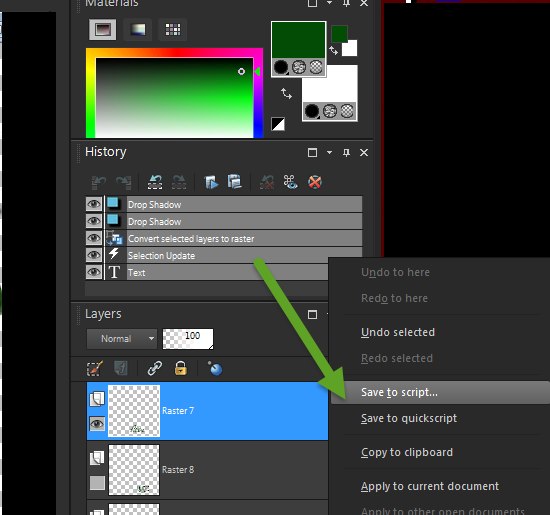
Then Right Click on that -
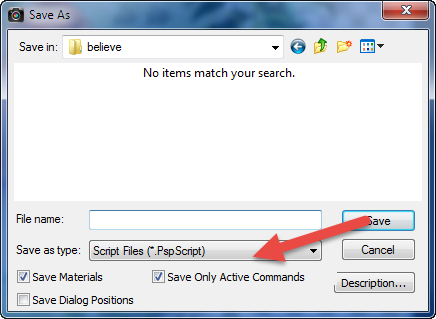
You will get this box to Save As
Make sure that you are in the folder where your tag is saved!
My tag is in the sub folder - believe
The Save as type is Script Files - pspscript
THAT IS A MUST -
Now name it -
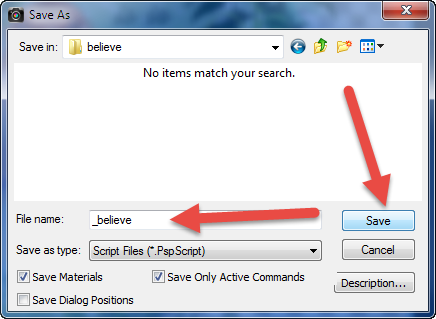
Make sure that you add that underscore - it will make your tagging so much easier
I have named the script _believe
Now Save it.
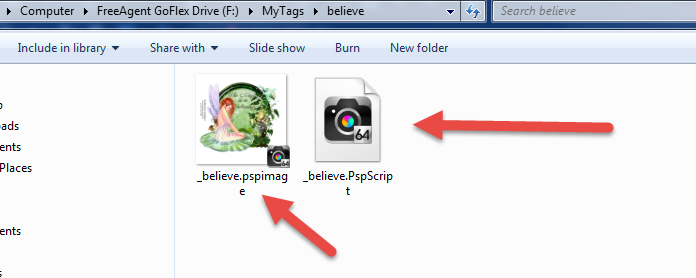
When you go back to look at your folder -
You should see your pspimage and now
you should have the .psp script
REMEMBER TO SAVE YOUR .PSPIMAGE -
BUT X OUT THE NAME YOU ADDED.
BE ON THE TOP LAYER WHEN YOU SAVE IT.
STEP 6 - EDIT YOUR SCRIPT
Header Image ©Alex Prihodko
|